Nearly every cook gets frustrated when they prepare a good cut of meat and the temperature doesn’t land where they want it, so you’re not alone. Just over, just under, you want it just right! When you learn how to reverse-sear your meat, in this case a tri-tip, you increase control over the process. In turn, you have a much higher chance of making a perfectly cooked steak that tastes amazing.
What is Tri-tip?
Tri-tip steak originally went by the name, “California cut.” If you’re looking for bold flavors, the tri-tip aims to please. The name comes from the triangular cut of a bottom sirloin, meaning it’s not as expensive as, say, a rib-eye. The cut features lovely marbling for tenderness as long as you monitor doneness. An average tri-tip is 1” thick, and relatively lean on the exterior edge.
What is Reverse-Sear?
You may have stumbled across food blogs talking about how to reverse-sear tri-tip and wondered what it meant in practical terms. Reverse searing isn’t a term readily known to cooks and grillers, but once you try it, your approach to steak will never be the same.
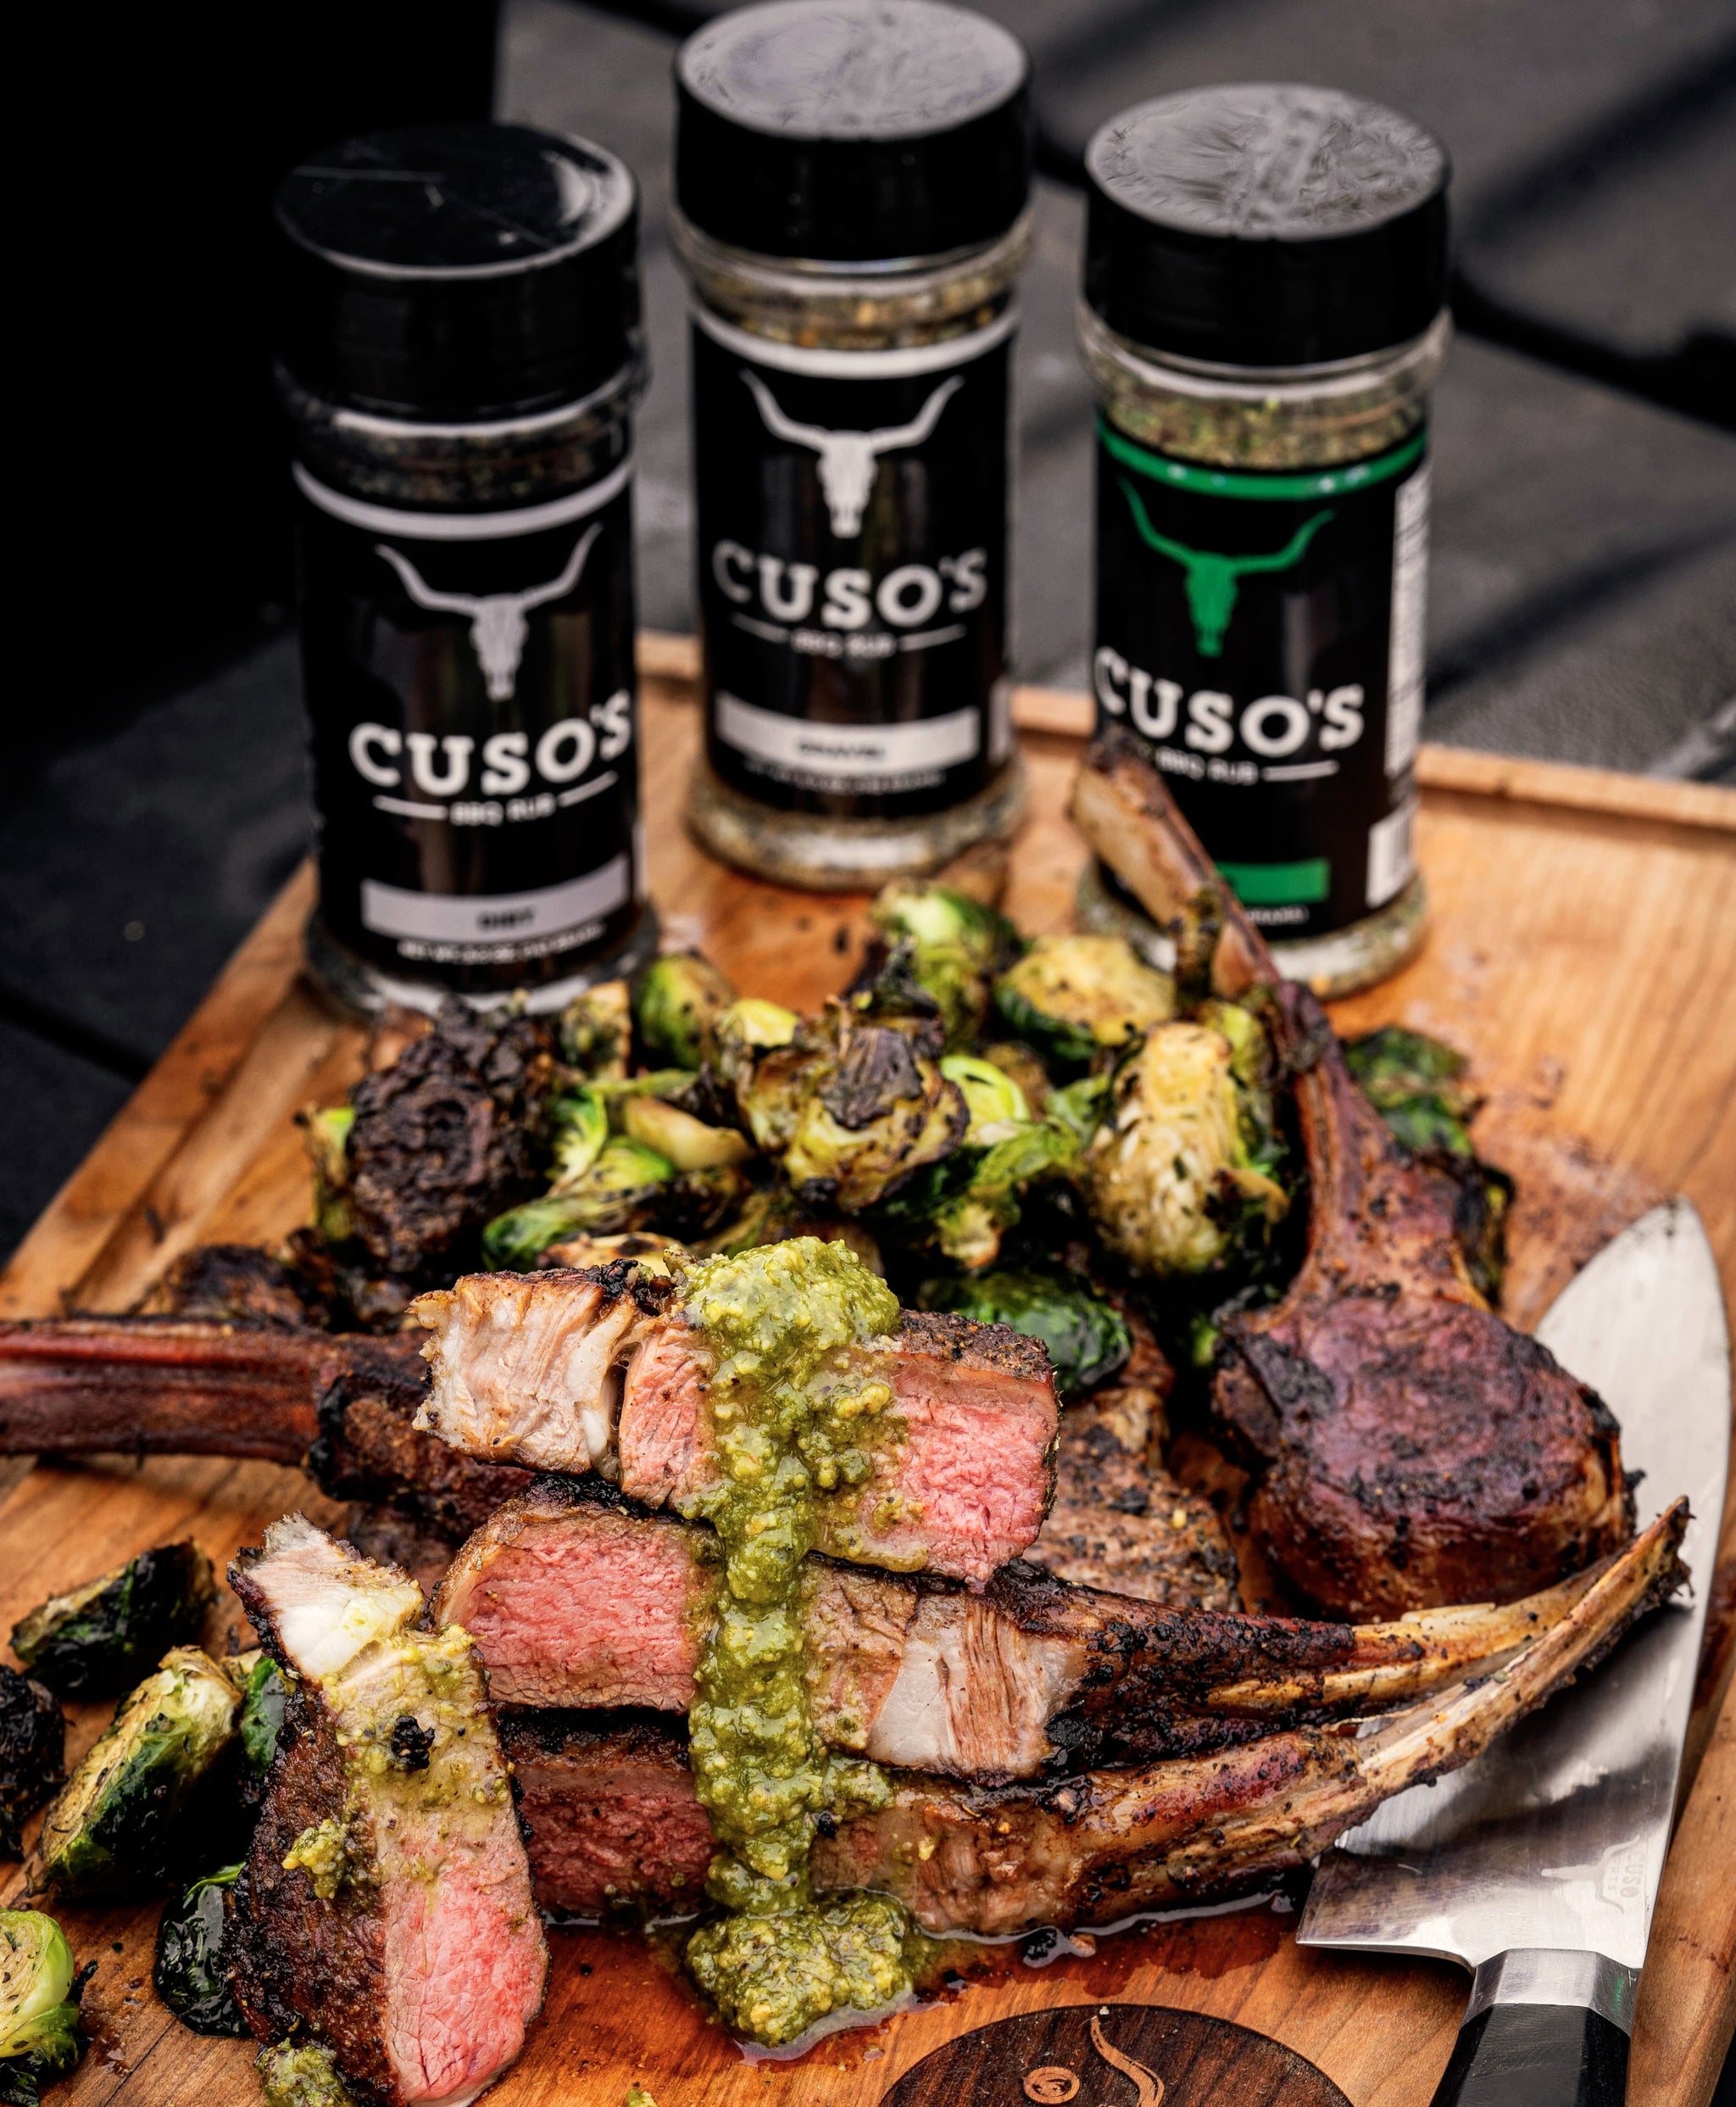
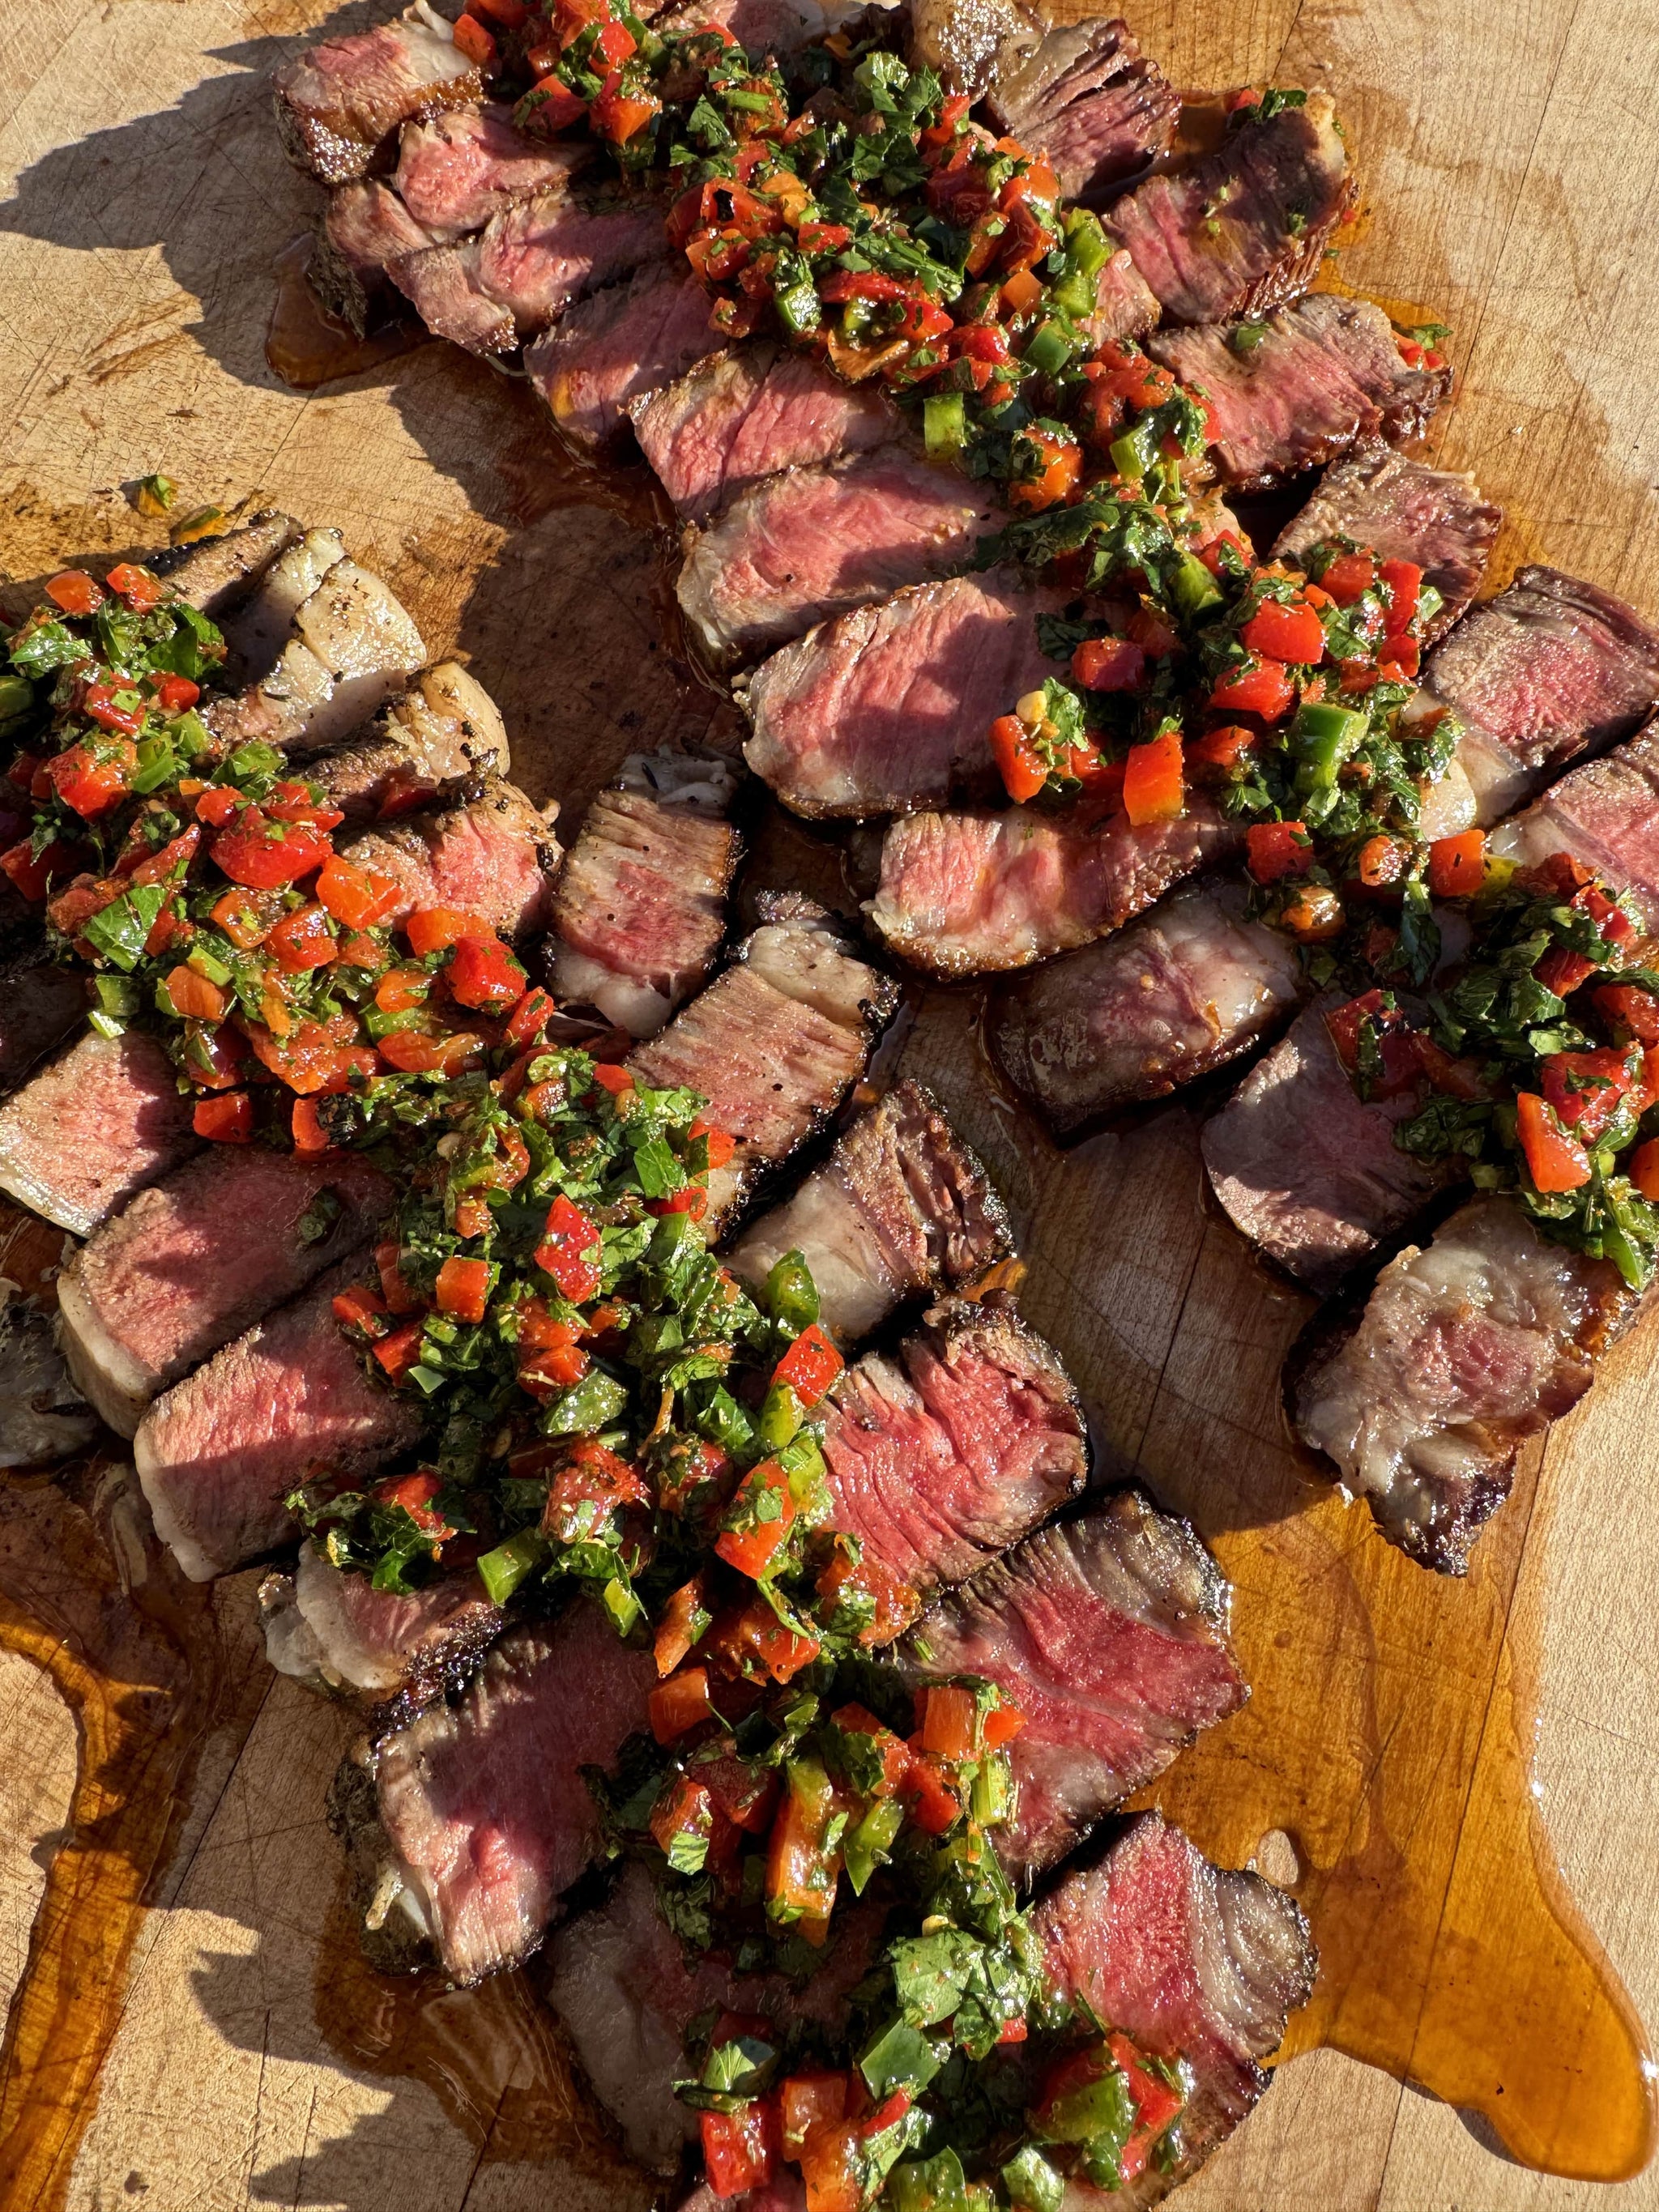
Simply put, reverse-searing means you bake the steak first and then sear it at the end. The beef turns out tender, with a lovely brown crust perfect for making a “wow” presentation on the plate.
Five Benefits of Reverse Searing
Once you learn how to reverse-sear tri-tip, you’ll discover some significant benefits from the process, including:
- A dry steak surface: When you start out baking the steak, it eliminates surface moisture. So when you sear the steak later, the end result is far more satisfying.
- Reverse-searing is low-and-slow, which is one way of controlling your meat’s interior heat so you don’t overcook it.
- Reverse searing creates a more consistent interior color throughout.
- Pan searing at the end makes a crust worthy of a magazine cover, especially if you use a barbecue rub like Cuso’s Dirt®.
- Once seared, you can easily add a flavorful finishing sauce while the meat rests.
Three Ways to Reverse-Sear a Tritip
When considering the question of how to reverse sear a tritip, it might surprise you to learn there are three different methods from which to choose. First is reverse-searing in the oven.
Oven Reverse Searing:
Heat the oven to 275F while you pat your steaks dry and season them. Place your steak on a wire rack atop a foil-lined baking sheet and get started!
You want to cook the tri-tip steak until it reaches 90F for medium-rare, 100F for medium. We do not suggest well done as it decreases both the juiciness and tenderness. Check your meat about every 15 minutes to be on the safe side. Now you’re ready to transfer the steaks into an iron skillet (no home should be without one).
Heat the pan to high with oil or butter (clarified is great!). Sear on each side for about 2 minutes, looking for a final internal temperature of 120F for medium-rare and 130F for medium.
Using a Smoker for Reverse-searing
One joy of learning how to reverse-sear tri-tip is your ability to manipulate flavor profiles. Smoking creates a distinct element in your finished dish that’s mouth-watering delicious. If you wish, you can use a dry rub or wet marinade on the meat, letting it stand in the refrigerator for 2 hours.
Preheat the smoker to 250 degrees F, setting it up for indirect smoking. Shake or wipe off any excess pre-seasoning before putting the steak in the smoker. Let it soak up the ambiance until the internal temperature reaches 110F.
While they’re smoking, prepare your grill so it heats to 475F. Oil the grill surface. Grill your steaks on both sides, achieving splendid sear marks. When the internal temperature reaches 115F (medium-rare), or 120F (medium) remove and let the steak rest for 10 minutes.
Tip: This basic approach works for charcoal grilling too.
Reverse Searing Tri-tip on a Gas Grill
If you don’t have access to a charcoal grill or smoker, you can practice how to reverse-sear tri-tip steak on a gas grill. It works just fine. Before you start, examine the steak for silvery skin. You want to remove it gently as it deters flavor and makes the meat tougher. Pat the steak dry with a paper towel, then season with salt, pepper, garlic powder, and onion powder on both sides.
Preheat your grill to 300F, with one side for indirect cooking, and the other direct. Put the steaks on the indirect sides, cooking them until they reach 110F. Increase the heat on the direct side of your grill to 500F. Sear each side of the steak here, cooking to the desired doneness.
No Snacking! Rest the Steak
As you can see, how to make reverse-seared tri-tip isn’t difficult. BUT, no matter what process you used, properly resting your meat is the key to success. During the 10 minutes after removing the steaks from cooking, the internal temperature goes up 5 degrees on average. While it’s tempting to dig in now, the resting period is vital for reabsorbing and distributing the juices within. Your patience pays off with succulence in every bite.


